


Motion control is a versatile field with numerous utilities; synchronization is one of its most useful applications! The concept is in the name: motion control devices being actuated in a ‘synchronized’ manner and running at the same speed. On the surface, this may seem like an easy task, but it is actually the opposite. Synchronization is not just achieved by simply wiring multiple actuators to the same switch, as some might think. In an ideal world or a very simple setting, this might work. However, usually, it will result in multiple linear actuators moving at different speeds. The culprit? Well, there are many. Even if two linear actuators of the same make and model are connected to the same power supply, a significant speed difference is to be expected if both are subjected to unequal loads, have experienced different wear and tear patterns, or are at different operating temperatures even, to mention a few problems.
This article will delve deeper into this discussion, detailing exactly why synchronization is critical for many applications and how it can be achieved.
How Can You Achieve Synchronization?

To achieve synchronized linear actuator movement, some form of motion control is a must. For an open-loop control system, the most popular synchronization option is a speed controller. In such a setting, the speed of each linear actuator is adjusted based on prior calculations, design sense, and intuition. For example, a stronger signal might be sent to an actuator that is facing a bigger resistance, to compensate for its higher inertia. Common applications include using multiple linear actuators at once with Arduino. However, open-loop systems are devoid of feedback and cannot achieve exact results, making them unsuitable for applications requiring precision.
A more sophisticated form of synchronized motion control is with a closed-loop system, which utilizes feedback from actuators to ascertain the individual needs of each device, making real-time adjustments. This form of synchronization is remarkably accurate, with no chance of error. There are multiple applications in the industry, domestic environments, and DIY where linear actuator synchronization is a core requirement. Progressive Automations boasts a diverse range of products that are specifically designed for synchronization applications. Our linear actuators incorporate top-of-the-line feedback options, and our controllers are built for unmatched performance.
How Can You Use Synchronization?
A synchronized actuator setup can do wonders for your linear actuator applications. In fact, a majority of applications utilizing more than one linear actuator are actually dependent on synchronized motion, without which they become faulty, leading to either the parts or the actuators being damaged.
If you plan on using synchronization-based actuation techniques, you must have a basic know-how of what options you have. In the case of open-loop syncing, such as controlling multiple actuators with Arduino, you need to ensure that the speed controller, in this case, the Arduino, is capable of handling the system. There must be enough pins to accommodate the number of actuators you are using and the code must be impeccable.

When using closed-loop feedback systems, the most important factor to consider is the type of feedback encoder integrated into your linear actuators. In this regard, Hall Effect feedback and potentiometer feedback are at the top of the list.
In Hall Effect linear actuators, the feedback encoder records the number of revolutions the actuator’s driving motor is going through while moving. From this information, it is very easy for the controller to calculate the exact position, and hence the speed, of the actuator’s rod. The encoders of all the linear actuators are constantly sending feedback to the controller, which determines which actuator(s) is lagging or speeding up, and then adjust their respective speeds accordingly to ensure smooth, synchronized movement.
When using Hall Effect actuators, it is necessary to use a compatible controller as well. You cannot use them with any ordinary controller, instead, one that is designed for this specific purpose is required. The control box must also have the desired number of channels in accordance with the number of actuators being used.
Potentiometer feedback works in a similar way. As the actuator’s rod moves in and out, the potentiometer’s electrical resistance changes with it proportionately. This information is transmitted to the controller, which then performs the exact same function as explained above to synchronize actuators.
Our Synchronization Options
Actuators
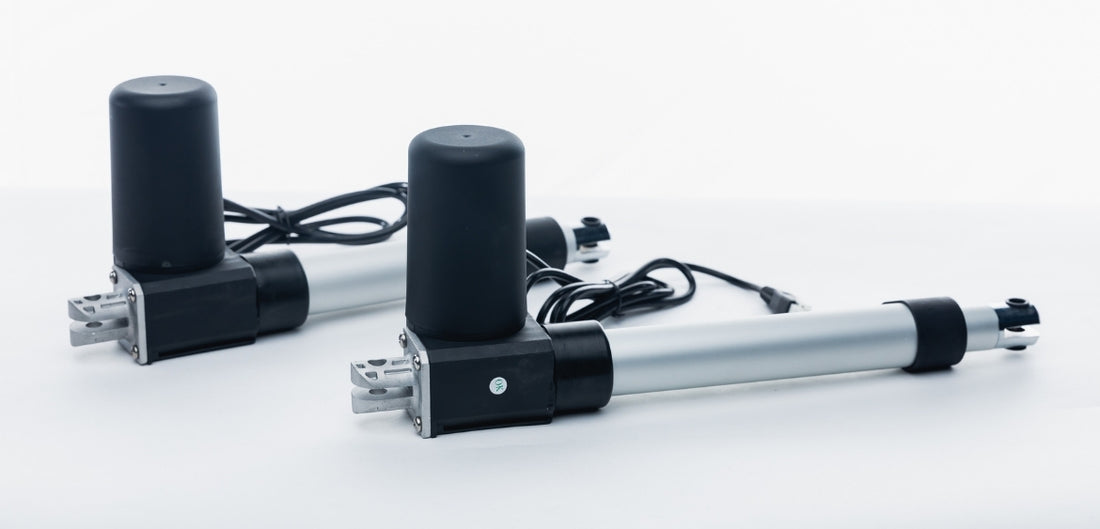
Starting with our linear actuator range, we have high-performing Hall effect actuators with 12 VDC/24 VDC variants that are ideal for controlling multiple actuators. For example, our PA-04-HS linear actuator comes installed with a built-in Hall effect sensor that enables synchronization. Customers can choose between 12 V and 24 V power supply options as well.

The 12 VDC power supply linear actuators are much more common as most power supplies are of a 12 V specification. They are easier to integrate into actuation systems and pack decent performance specifications. The 24 VDC actuators need a specialized power supply, which often requires additional investment and equipment. However, these variants are capable of delivering more power and torque, have a lower current draw, and thinner wiring requirements, which are a great compensation for the drawbacks highlighted above. Whether you choose a 12 V actuator, or a 24 V device depends on your specific application design.
Control Solutions
For synchronization purposes, we offer multi-channel control boxes that are designed to handle feedback-based actuators, such as our celebrated PA-40 and FLTCON control box series. Designed for Hall Effect actuators, these controllers can work with 12 VDC/24 VDC actuators. The PA-40, in fact, is a specialized synchronization solution for dual Hall Effect applications.

Diving a bit deeper into our product line, our most popular motion synchronization products are our lifting columns. These are used for standing desks and adjustable tables, where synchronization is of utmost importance owing to non-uniform weight distribution on them that can cause non-synchronized systems to fail almost instantly.
Final Word
If you have an application that requires two or more actuators to run at the same speed, synchronization is your best option to ensure true and precise synced movement. Anything else may result in varying actuator speeds and damage to your application.
You can get more information on synchronization by contacting us with your specific queries or design problems, and our customer care staff will be happy to assist you in optimizing your linear actuator synchronization application.